dinsdag 3 mei 2016

Feedback 03/05/2016

Today we had a feedback from Mr. Detand and Mr. Davy about our prototype and investment plan: 

Jan Detand: 

- Prototype 
    - What will be the finish of the wood (paint, varnish...) to have good look 
    - Test if people understand how to assemble the prototype (with a family member, ...) 
    - Make a patron simulation 
- Investment plan 
    - Make a budget comparing the low volume with the high volume (machines, costs...) 
    - Calculate the machine price per hour not per piece. Do this by estimating how long the 
       machine life is (1,2... years) 
    - How can we optimize the production? 
    - More details about the textile (sewing machine, type of  stitches, by hand or not, the 
       cost of them) 

Davy Parmentier:

- Prototype 
    - Look for strong velcro (e.g. duo lock velcro) or find another mechanic solution. You can 
       stay with the velcro if you find a proper way to attach it to the wood.
- Investment plan 
   - If we change it to Jan's consult, it will be ok. 

Adjusted textile, Cad-files, Cutting of the wood and Changing the Investment plan

Changes to the textile
We changed the clothing of the table a little bit with the feedback we received last week. We changed the place of the gaps where we put in the wooden plates.


What will be different for the final product ?
- the corners will be cut in half see drawing), so it will fold more easily if we turn the table into a basket
- the borders where the plate will need to be put in to make the basket, will have another colour, so the user will see easily where he can get it out/ put it on.
- there will be zipper on the back side of the plates we don't need to get out for the configuration. This way the zippers won't stand out for changing the configuration, but the plates can get out so the clothing can be washed easily.
- on the bottom, we will use the system of an ironing board textile to attach the textile to the bottom palte.


Changes to the Cad-file:
- The thickness of the plate changed from 3.6 mm to 5 mm. This is the thickness we will use for our final prototype.
- We made some gaps in the top plate of the basket, so the user can get this plate out more easily (the plate is inside the basker, so it

Cutting away the corners so it opens easily.

These corners don't make the design of the table bad.

Cutting of the wood
We also cutted the wood for our final product this week in the right dimensions. We chose to work with a multiplex plate with a thickness of 5 mm.


Investment plan
We also made a new version of the investment plan, according to the feedback last week. Now it looks like this.


maandag 2 mei 2016

Feedback 26/04

We got feedback from Mr. Detand this week (26/04). He made some useful suggestions for our design:

- He suggested using the system of an ironing board cloth to attach our textile to our bottom plate.
- The flexible material we use for the handle, doesn't have to be a useful part for the table, but it has to be attached to it. It has to be in both configurations, but he doesn't find it useful to attach it to the legs of the table. It won't give much more stability to it, and it would make it a lot more difficult for the user to know how to assemble it to the legs (difficult handling).
- The textile is almost ok, for the final product we can ask someone professional to make it for us, so it has a nice look. The gaps where we insert the wooden plates would be better if it's not on the edge of the textile (difficult to find out for the user), but it would be better if it's in the middle and very clear that it can be opened.
- He also gave some useful advise for our investment plan. He suggested making it in Excel instead of Word, so we could just give in another amount of tables we want to make in a year, and the file will calculate the rest for us. We need to make a difference in fixed costs vs. variable costs, a comparison if we buy other machines (more expensive ones for high volume production), we should also calculate the cost per piece if we produce 500, 1000, 2000, ...

Testing textile


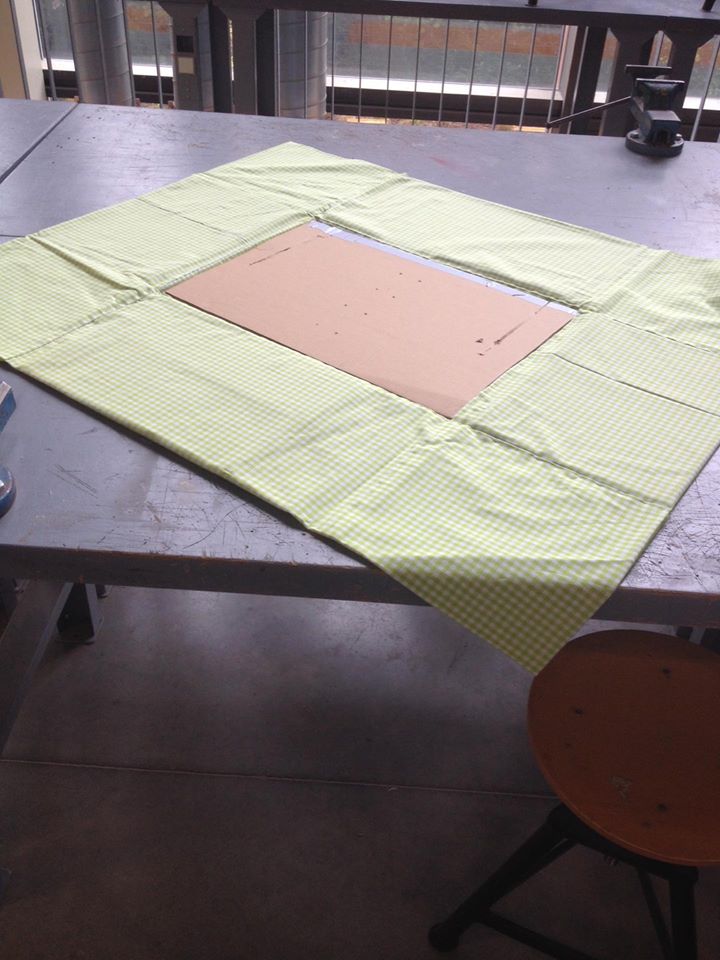
We did a first trial of sewing some textile. The fabric we chose to work with is a green checked cloth. We made this prototype by sewing it together with a needle. For the final product, we would use a sewing machine for a better finished result.

The prototype is stitched with a needle.
Prootype unfolded.


Shoving the panels inside the cloth.
Cloth is open on the sides.


Flatpack prototype (downside)
Flatpack prototype (upside)

We still had some doubts about how to attach the textile to the bottom plate, but we got some very useful advise from Mr. Detand for this part. He said we could use some kind of system that they use for the textile of ironing boards (rubber or cords you can span).

Ironing board cover (with cords).

Ironing board cover (with rubber band).

Ironing board cover (with rubber band).

dinsdag 26 april 2016

Investment plan and self-explaining instructions

After the redesign of the legs of the table, a 3D CAD File was made to get a good visualisation.


For the consult on 19/4, two big questions needed to be answered:
1. How do we begin with the investment plan and what's the most important aspect of this plan?
2. We were thinking about using colors to make the assembly self-explaining

Jan:

The investment plan should contain the several steps, machines, tools and workers needed to produce the final product. An estimate of all costs and time needed to produce a product should be calculated, including material costs, time necessary for every production step etc. The investment plan should also consist a break even analysis and a comparison between high volume and low volume production techniques to select the most relevant and economic production process for our final product.

Davy:

To find out what the logical assembly steps are to convert the table into the basket and to convert the basket back into a table, we should construct an assembly tree. This assembly tree is a graphical representation of what steps should be done before the next step can be done and to what actions these steps relate. In this way, it is easier to find out in what order every action should be taken and with this knowledge, we can think about the self explaining design of the product. For example: when we know that we first have to do steps A and B, we might be able to relate action C to B in order to link the order of action. We should make such an assembly tree for both the table to basket conversion as wel as for the basket to table conversion because it is possible that different actions should be done in a different order in the two different assembly processes.

We have to make sure that the assembly proces is as foolproof as possible. Due to the fact that people only use manuals when they encounter a problem and the product has to be assembled without a manual, we must avoid the possibility to make mistakes and encounter any problems. First thing we need to keep in mind is that people tend to act before they think and thus our processes we want to explain should be clear immediately, without asking for too much brain exercise of the costumer.

Finally, we should keep in mind that the investment plan is also intended to let us rethink our desing in terms of production. If we notice that the production cost would be too hign, we should redesign our product in function of a more economical production process. Also we may not forget about the 'small series production' and the use of these production methods in both our product and our investment plan.


Connections and self-explaining instructions

During the consult of 12/4, the emphasis lied on sorting out how all connections would be clear to the user. How would a user know which panels need to be connected without manual? How can we implement a sign that a certain part of the textile needs to be opened or closed?

The most important features we should use are the shape and complementary signs. These complementary signs could be colors, complementary shapes. Good examples are displayed below:


Next to that, we redesigned the legs of the table to improved stability and reworked the handles. Because the table legs are now designed with a groove connection, the flexible handles will be used to keep the table top firmly onto the legs of the tabel as shown in the sketch below.


The other part of the lesson was used to explain the investment plan.

woensdag 23 maart 2016

Improving Prototype 4

After the last feedback we tried to improve prototype 4, following the feedback we received at the consult yesterday. 

The idea is to put the different planks in the textile (except for the bottom plate; only the top of this plank is covered with textile) to form the basket and to make it easier to transform it into the table (you just remove two planks out of the textile).  


To close the textile (where the side planks are put in), we use velcro. 


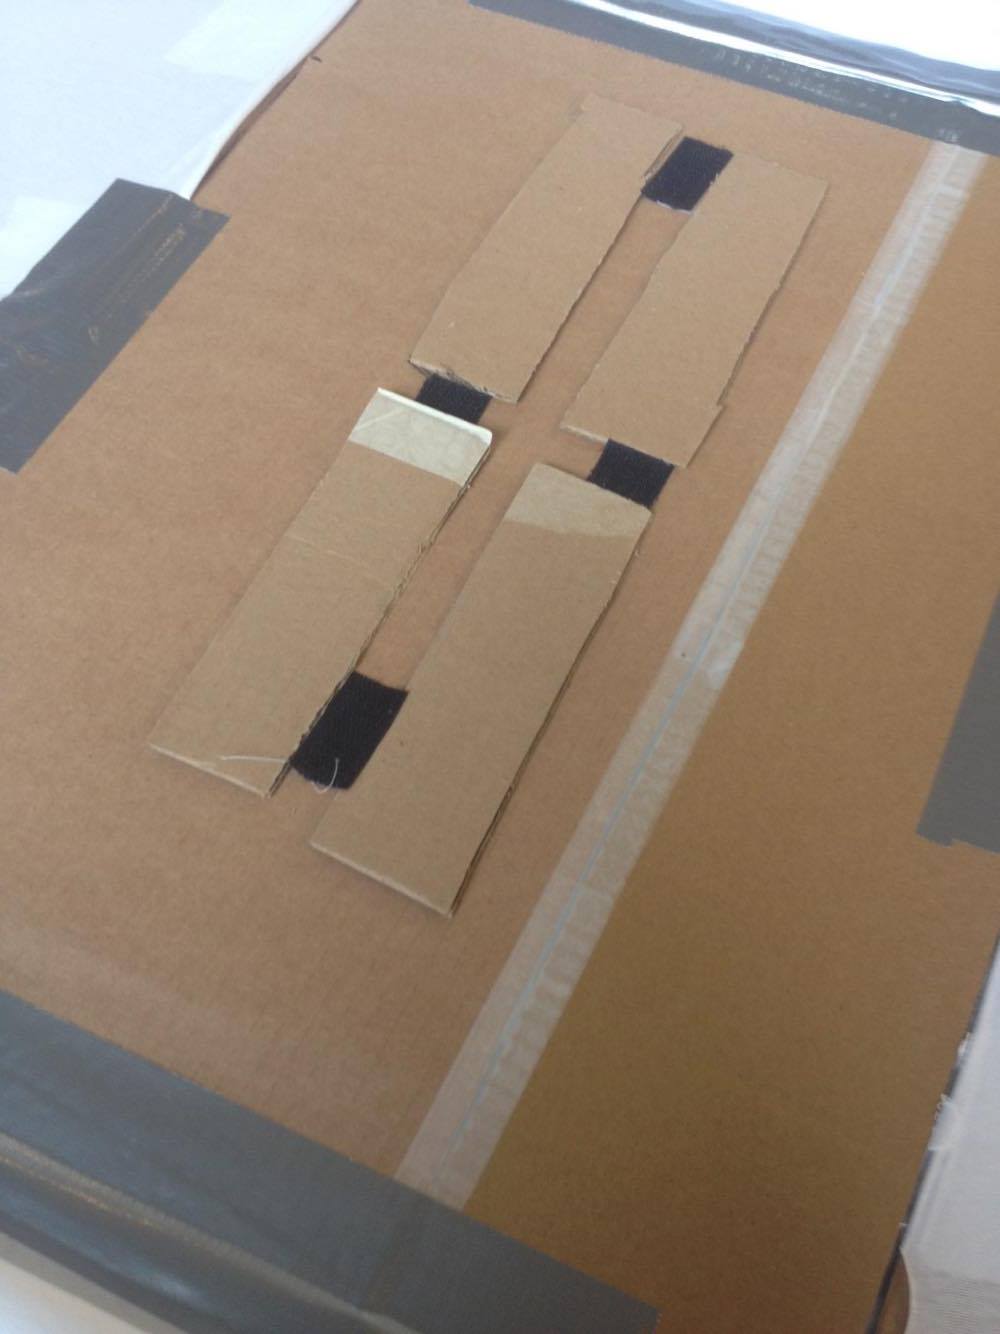
 We are still studying a way to connect the table surface with the legs, but one possibility is to make it with velcro too, making a guide in cross form.