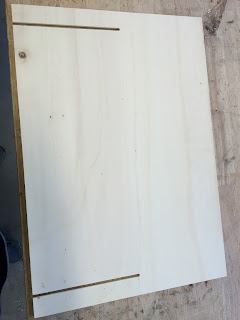


We used a 0,5 cm milling head, because this is the thickness of the wood. We milled it until halfway the plates, so we can shove them in each other.
To do this in a proper way, we had to put another wooden plate with a big thickness under it to avoid damaging the machine. To ensure that the milled slides were straight, we lined our wooden plates with the machine, using a piece of wood and putting it against the side (90 degrees).
After we finished milling the three pieces, we sanded the edges. We also sanded the plates again to make sure there weren't any pencil marks left on the plates.


The next step was to make some holes in the top plate, so it can be opened more easily. We used a a drill of 3 cm to cut a quarter of a circle away in both corners (both corners to make it symmetric for a nicer look for the table legs) to do this. Hereafter, we finished it again by sanding it (also sanding away the pencil marks).


This was the final result (without the textil).
 |
| The slides work perfectly. |
 |
| Final result of the legs. |
 |
| How the table looks like without the textile. |
Geen opmerkingen:
Een reactie posten